Decide what should be bright
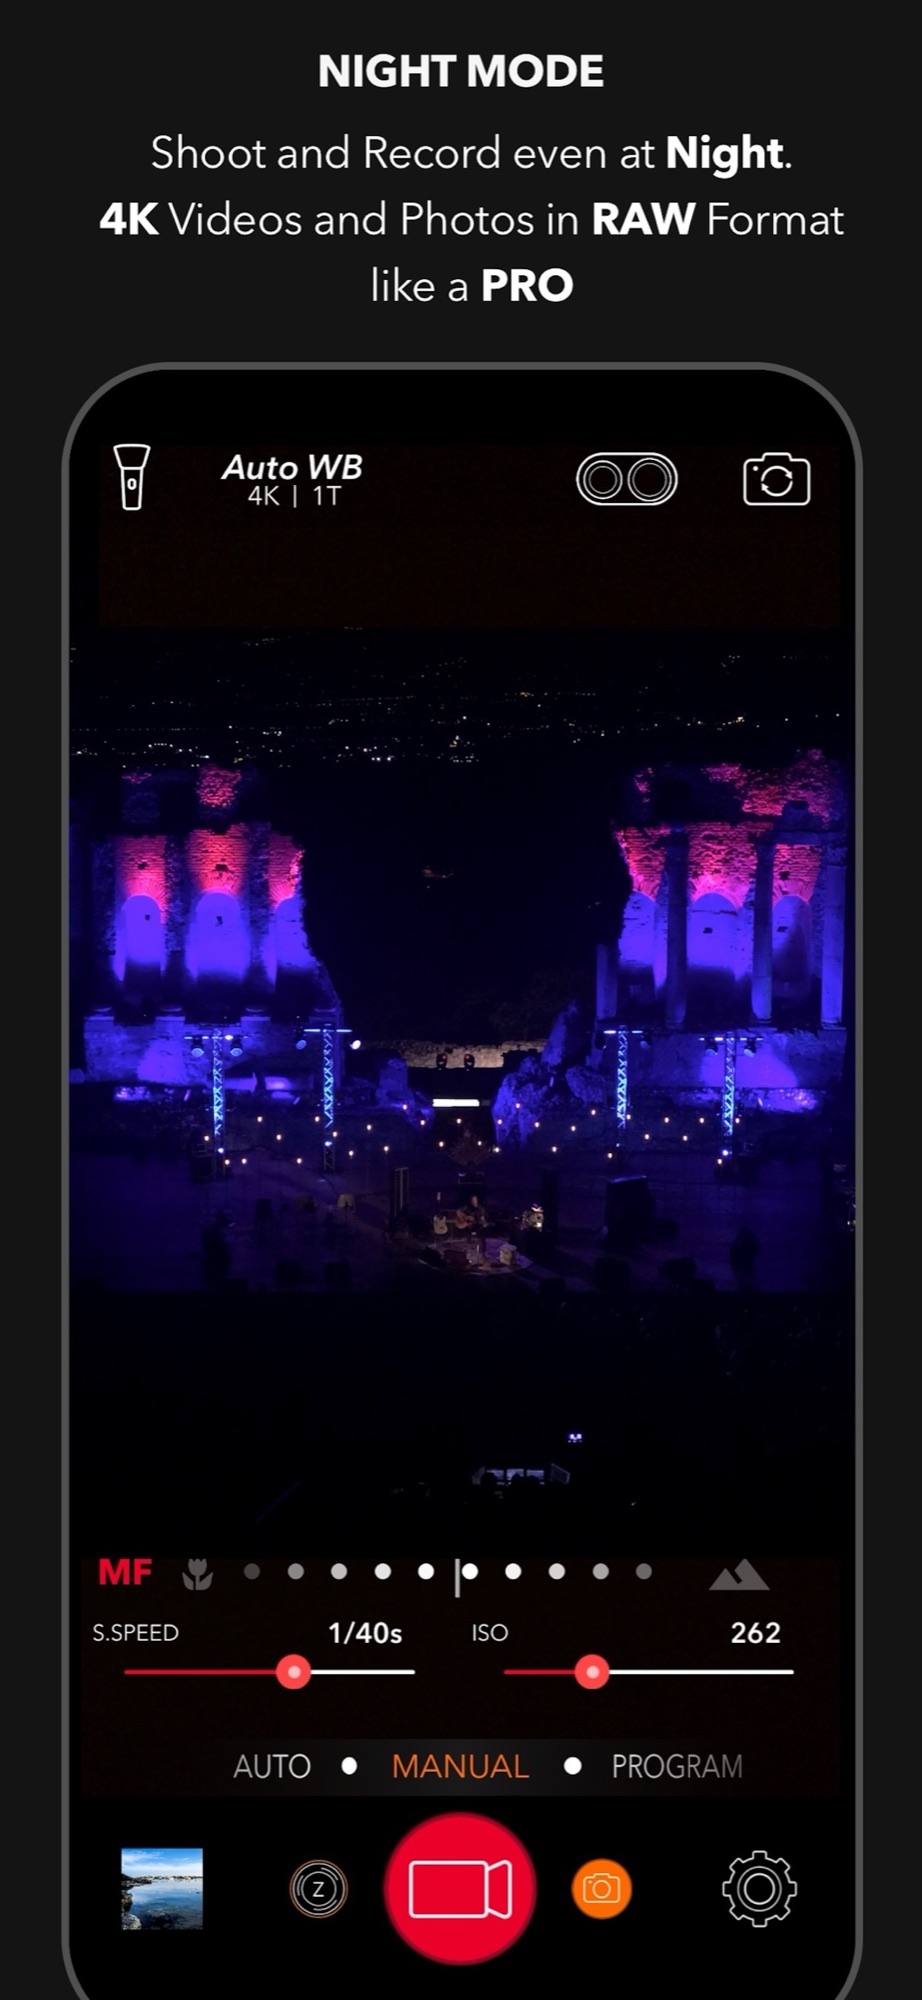
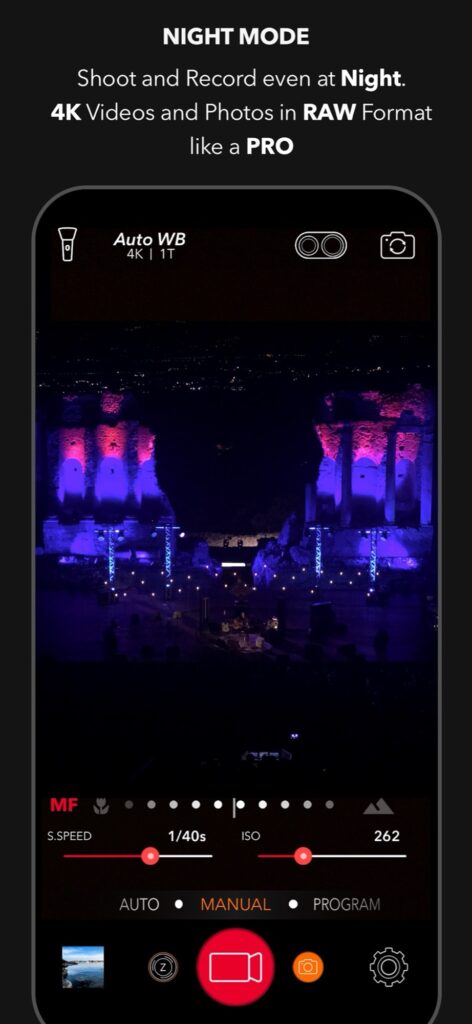
Look at the scene and choose the brightest thing that matters: a lit building, a stage, a face near a lamp. Expose for that, and let the rest fall into shadow. In DSLR Camera, Manual mode gives you shutter speed and ISO directly, so you can darken or brighten the frame and see the change live.
P mode is a quicker alternative: you choose the exposure, and the app handles the rest.
Balance time and sensitivity
There are two ways to gather more light. A longer shutter time keeps the image cleaner, though anything that moves will blur, including your hands. A higher ISO lets you use a faster time, at the cost of more noise.
For a still scene, rest the phone on a wall or a small tripod, keep the ISO low and lengthen the time. To avoid touching the phone, trigger the shot from your Apple Watch or use the timer. For people, accept a higher ISO so that faces stay sharp.
Shoot RAW and finish in the editor
Dark scenes benefit from RAW (DNG): the file keeps more information in shadows and highlights. After the shot, open the built-in editor and adjust exposure, lights, shadows, colour temperature and photo noise. Small changes are enough; the aim is to bring the picture back to what you remember.
Video works in the same spirit: the app records 4K video and lets you lock exposure, so a concert does not pulse brighter and darker while you film.
Read the DSLR Camera overview for the other shooting tools.
Separate camera shake from subject movement
Photograph the same evening scene first with the phone supported and then handheld, keeping the exposure settings unchanged. Compare a stationary edge at full size: a double edge or directional smear suggests movement during exposure. Now include a walking person. A stable background with a blurred person is subject movement, which a remote shutter cannot remove.
As an exercise, compare 1/30 s and 1/125 s if your camera supports both. Adjust ISO to keep the subject similarly bright, then compare the saved files. There is no universally safe shutter speed: walking speed, lens, distance and your support all matter. Prioritize a readable face over the lowest possible ISO.
Manual RAW is not automatically better than the phone’s computational night processing. Make an Auto reference too. If the RAW file gives no useful editing advantage or the scene is moving, a standard processed image can be the more practical result.
Sources and availability
Facts checked on 20 September 2026 against the DSLR Camera listing on the App Store. Exposure ranges, RAW and 4K recording depend on the iPhone model and camera.
Your learning path: from capture to editing
Follow the sequence or choose the problem you want to solve. Scheduled lessons become links when published.
- Manual camera controls on iPhone: shutter speed, ISO, focus and white balance
- Night photography on iPhone: using shutter speed and ISO after dark
- Use Apple Watch as a remote shutter for DSLR Camera
- Hands-free selfie timer on iPhone: start the countdown with a gesture — scheduled: 16/10/2026
- AR Portrait: using the iPhone LiDAR sensor for creative portraits — scheduled: 23/10/2026
- Bokeh on iPhone: control background blur before and after the shot — scheduled: 30/10/2026
- How to take the perfect jump shot with your iPhone — scheduled: 06/11/2026
- Shooting RAW on iPhone: when it helps and how to edit the file — scheduled: 13/11/2026
- Edit a photo on iPad with DSLR Camera: a practical order of adjustments
- AI photo filters on iPhone: how Predictive Filters choose for you — scheduled: 20/11/2026
Take control of your iPhone camera
Manual controls, RAW, 200+ filters and an advanced editor in one app for iPhone, iPad and Apple Watch. Updated since 2014.
Get DSLR Camera on the App StorePaid app. Feature availability varies by iPhone model, camera and iOS version.