Three modes, one habit
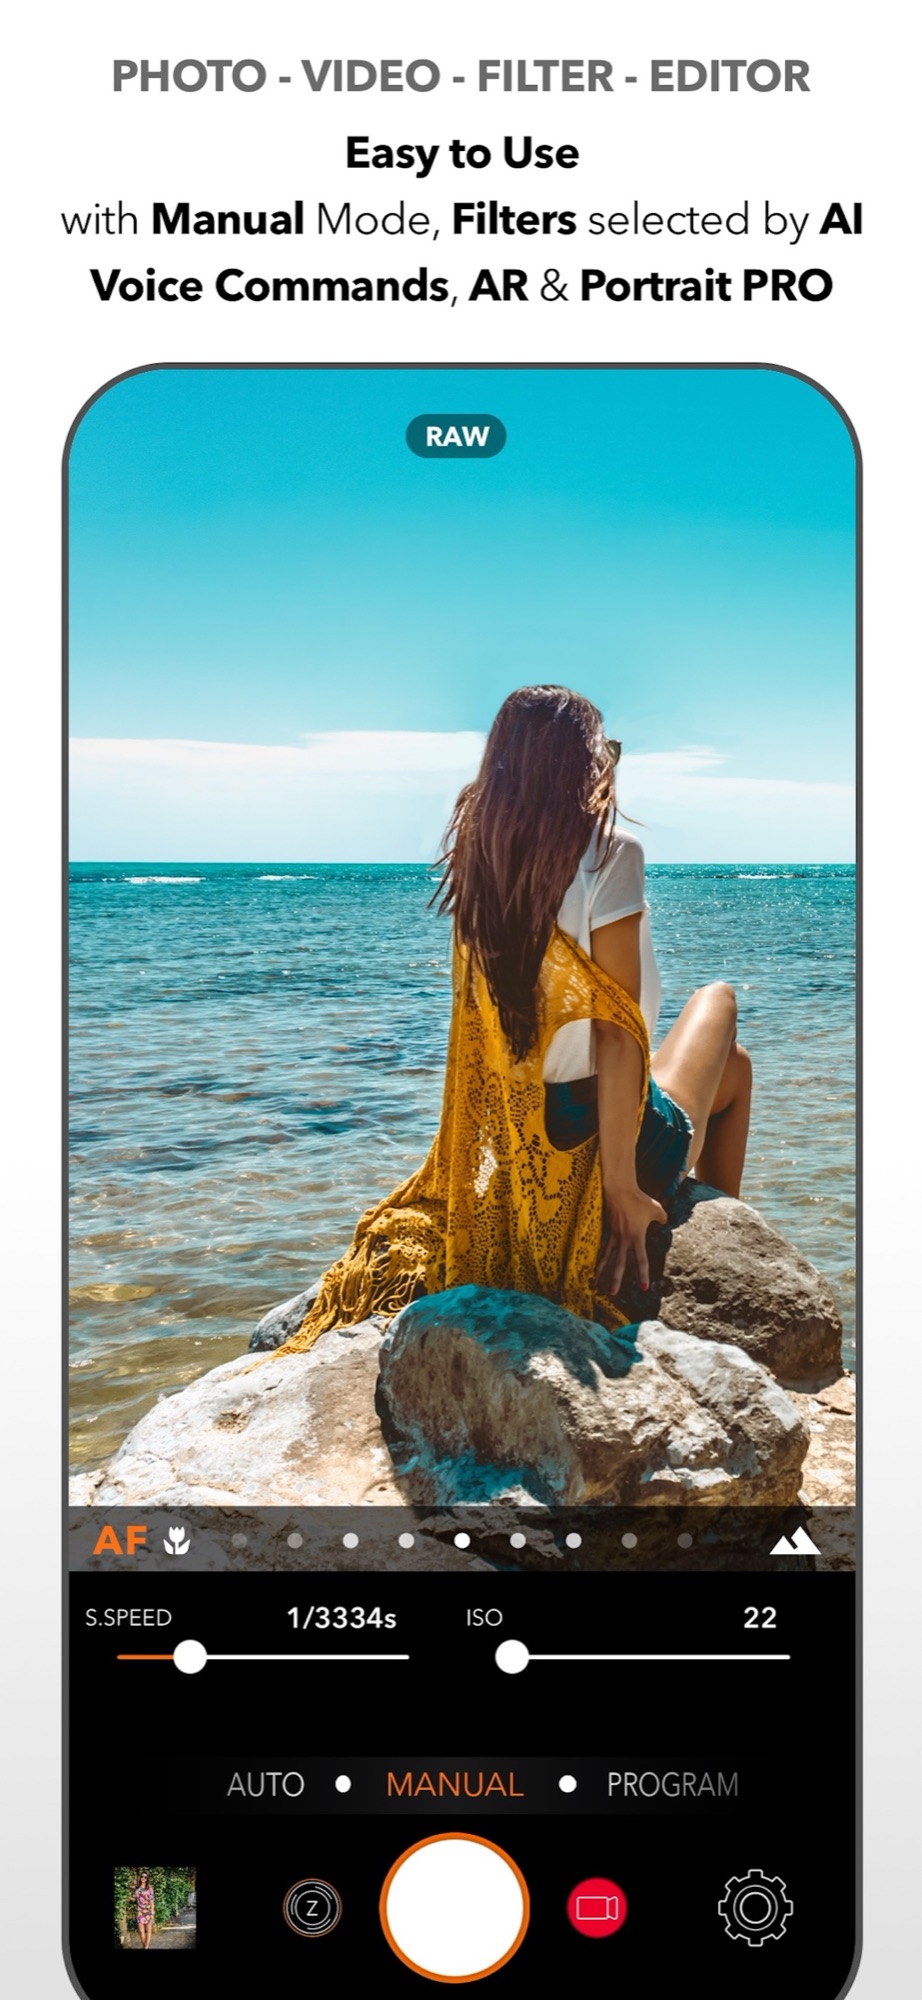
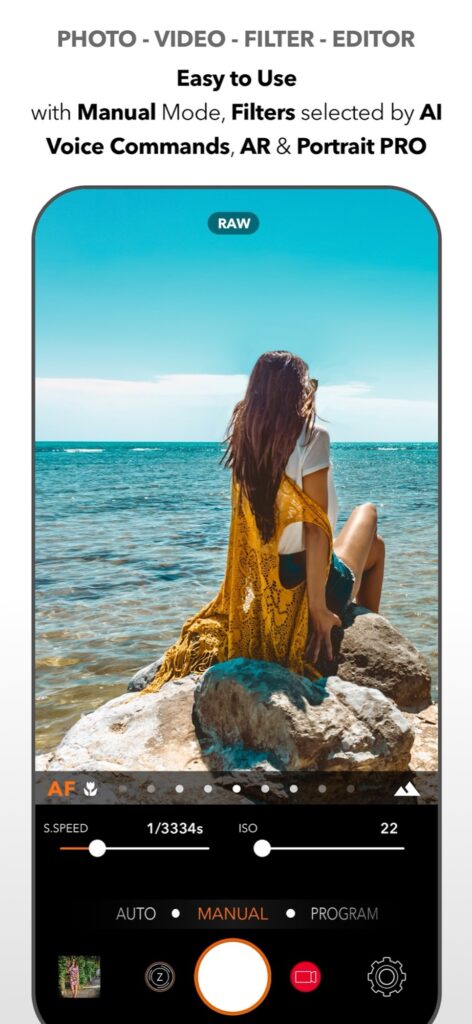
Start by comparing Auto, P and Manual. Auto gives you a well exposed photo or video without any settings. P mode lets you choose the exposure quickly. Manual mode hands you the four classic controls: shutter speed, ISO sensitivity, manual focus and manual white balance.
A useful habit is to start in Auto, look at what the camera chose, then switch to Manual and change one value at a time. You learn what each control does by seeing the difference in the frame.
What each control changes
Shutter speed decides how movement is recorded. A fast value freezes a jump or a splash; a slow one lets moving water or lights blur, and needs a steady phone. ISO is the sensor’s sensitivity: raise it when light is scarce, keep it low when you want a cleaner image.
Manual focus lets you choose the exact plane that stays sharp. The app adds a Macro focus for minute details and an Infinity focus for distant subjects. With AFC, hold a point in the frame and the app keeps tracking that subject. Manual white balance sets the colour temperature, so a sunset stays warm and snow stays white.
A first exercise
Pick a subject that does not move: a cup near a window. Take it in Auto. Then, in Manual, lower the ISO as far as the light allows and lengthen the shutter time until the exposure looks right. Compare the two files. Next, shoot the same scene in RAW and adjust it in the built-in editor.
The controls are designed for beginners and experienced photographers alike. See the DSLR Camera overview for the full feature list, including Apple Watch remote and 4K video.
Try a controlled comparison
Choose a still subject near a window and support the phone. Make an Auto reference, then select Manual. If the camera allows it, compare 1/60 s at ISO 100 with 1/120 s at ISO 200, keeping framing, lighting and aperture unchanged. These are starting values for an exercise, not recommended settings for every scene. The second exposure gathers less light; the higher ISO changes the signal amplification and does not add light to the sensor.
Compare brightness, noise and motion at the same viewing size. If the scene is too dark or bright, adjust the starting pair first. A lit object should remain visible without losing important highlights. Do not assume preview brightness proves the saved file is correctly exposed.
Next keep exposure steady, move focus from a nearby object to the background, and compare which plane is sharp. Then change white balance on a neutral object under one light source. Mixed daylight and artificial light can leave different parts of the scene with different casts. Change one variable at a time and note the setting before comparing files.
Sources and availability
Facts checked on 20 September 2026 against the DSLR Camera listing on the App Store. Available controls and value ranges depend on the iPhone model and the camera in use.
Your learning path: from capture to editing
Follow the sequence or choose the problem you want to solve. Scheduled lessons become links when published.
- Manual camera controls on iPhone: shutter speed, ISO, focus and white balance
- Night photography on iPhone: using shutter speed and ISO after dark
- Use Apple Watch as a remote shutter for DSLR Camera
- Hands-free selfie timer on iPhone: start the countdown with a gesture
- AR Portrait: using the iPhone LiDAR sensor for creative portraits
- Bokeh on iPhone: control background blur before and after the shot
- How to take the perfect jump shot with your iPhone
- Shooting RAW on iPhone: when it helps and how to edit the file
- Edit a photo on iPad with DSLR Camera: a practical order of adjustments
- AI photo filters on iPhone: how Predictive Filters choose for you
Take control of your iPhone camera
Manual controls, RAW, 200+ filters and an advanced editor in one app for iPhone, iPad and Apple Watch. Updated since 2014.
Get DSLR Camera on the App StorePaid app. Feature availability varies by iPhone model, camera and iOS version.